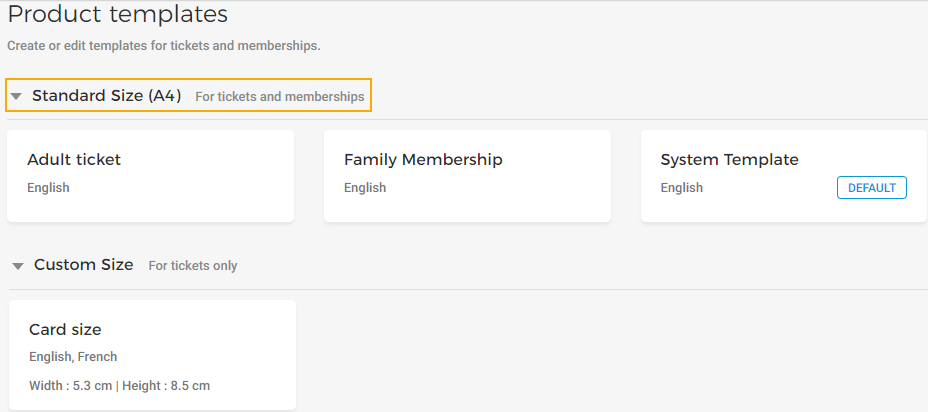
Product templates
The page Product templates allow you to create Standard size (A4) templates as well as Custom size templates.
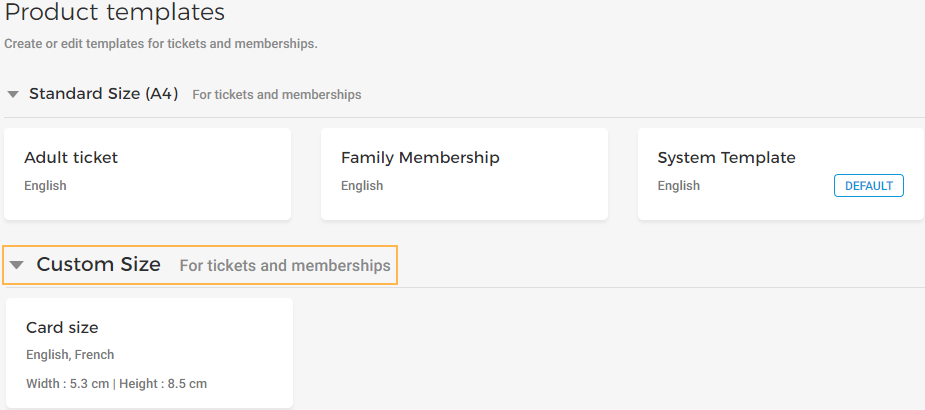
Standard size template
A standard size template is an A4 size template that can be used for tickets as well as memberships.
Once published, the standard-size templates are linked with tickets/memberships.
Anyone template must be defined as a default template. The default template will be used when no template is linked to a ticket/membership type.
The published standard-size templates are available to both, the direct and indirect channel sales points.
Custom size templates
Define the custom height and width of a template for tickets as well as memberships.
Once published, the custom-size templates are linked with direct channel sales points.
The visitor will receive PDF ticket/membership in the customised size when purchased from the defined onsite sales points.
No need to define a default template.
To communicate with the onsite sales points, integration with the Direct selling API is required.
It is possible to create new templates, either from scratch or by customising the default Template provided by GANTNER. Once created, it is not possible to delete a product template.
You can add translations for standard-size as well as custom-size product templates.
Create product template
On the Product templates page, click Create in the top-right corner.
In the resulting pop-up, you can choose to either create a new template from scratch or customise the default template provided by GANTNER.
Next, you will be navigated to the template editor window.
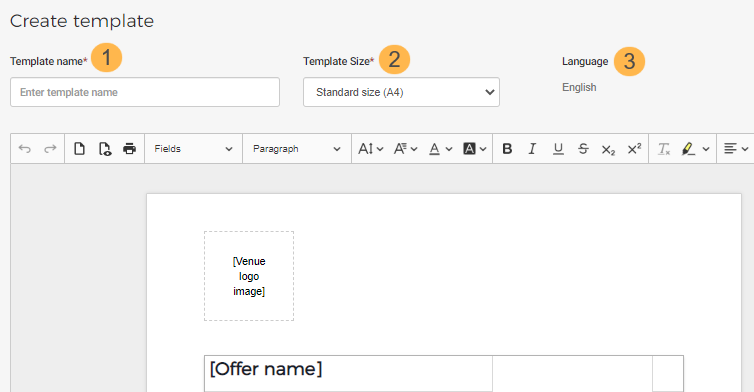
Template name
Enter the name of the template. The template name is for your reference, and it will not be shown to visitors.
Template size
Here you can select from the options Standard size (A4) or Custom size.
Language
Note that the language selected is English. This is because a template is created in English, by default. Later on, it is possible to add translations in multiple languages.
Next, you can make changes to a template using the editing tools. For a detailed description, refer Edit product template
Edit product template
It is possible to edit the template name and customise the template using the template editor. For a Custom size ticket template, you can additionally edit the height and width of the template.
Using the tool panel on the template editor, you can customise the template.
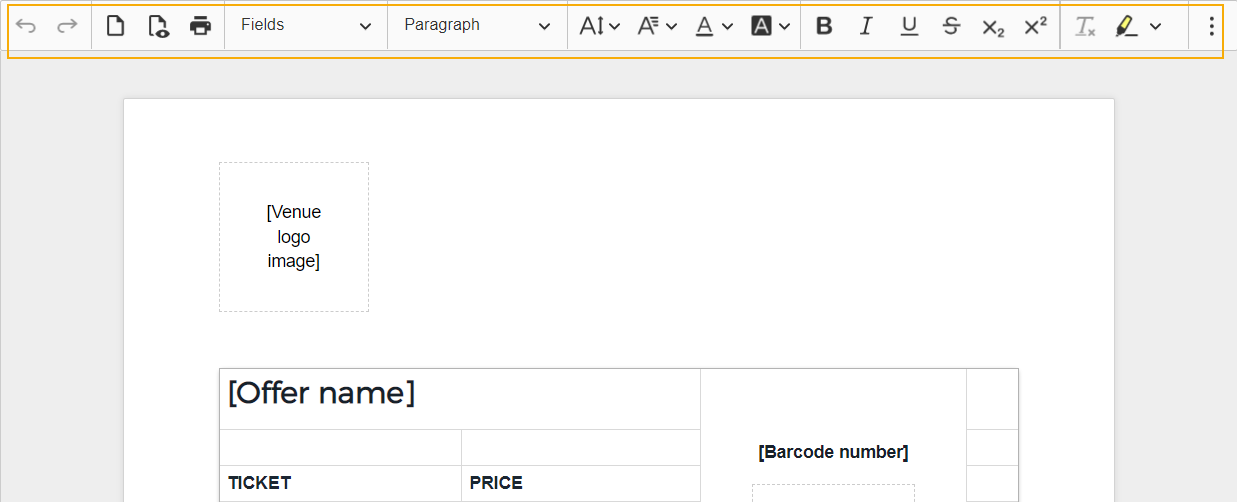
You can add more fields from the Fields drop-down.
For the 'Fields' options that have height and width parameters, if you define measurement for one parameter and define the other as auto, the other parameter will automatically take its appropriate measurement as per the screen size when the ticket is downloaded.
You can preview the email template using the Preview button
 in the toolbar.
After customising the template, you can either save the template as a draft, publish it or reset the changes made.
 |
Save as draft
If the changes have been saved as draft, the template will be flagged as Unsaved draft version on its detail page.
Publish
Allows you to publish the template. See further Publish product template
Reset
If you wish to revert to the default template provided by GANTNER, use the Reset button at the bottom of the template editor.
Note that initially, a default template preview is shown on the detail page of a template. Later when the modifications made using the template editor are published, the preview is updated with the most recently published modifications.
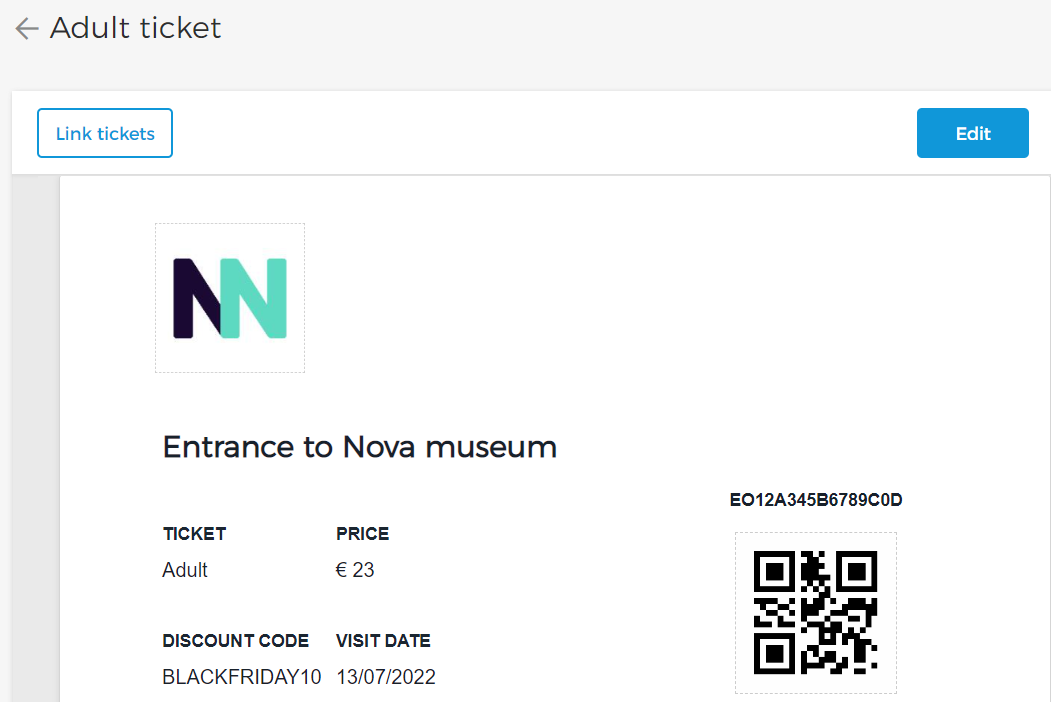
Now when you revisit a ticket template, you will be able to link tickets for a Standard size (A4) template and and link sales points for a Custom size template. You can also add translations for the templates.
Publish ticket template
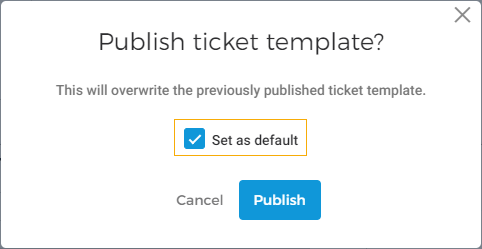
Publishing a ticket template will allow you to link a Standard template with tickets and a Custom template with onsite sales points. For a Standard size (A4) template, you will be able to choose to set a template as default.
Note that initially, a default template preview is shown on the detail page of a template. Later when the modifications made using the template editor are published, the preview is updated with the most recently published modifications.
Set template as default
Only a Standard size (A4) template can be set as default. This can be done in either of two ways:
At the time of publishing a Standard size (A4) template from the Edit template page.
Note
It is possible to set only one Standard size (A4) template as default. Therefore, if the template is the only template or it is already marked as a default template, the option to set a template as default will be disabled in the 'Publish ticket template' pop-up.
From the more options menu on a Standard size (A4) template card.
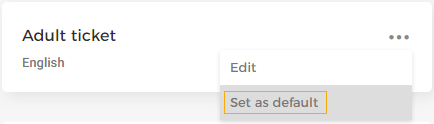
Setting a Standard size (A4) template as default means, that the template will be used when a ticket is not mapped with any template. See further, Link tickets.
Link tickets/memberships
Note
The option to link a template with tickets/memberships is available only for Standard size (A4) ticket templates. The Custom size templates are required to be linked with sales points.
Once you have published a Standard size (A4) template, you will be able to link it with the tickets or memberships for which the template will be used.
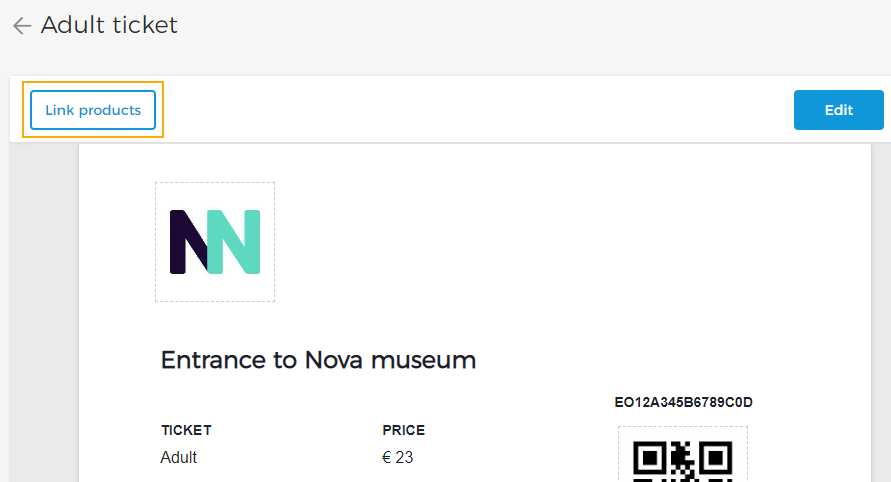
On the Product templates page, click on a Standard size (A4) template you want to link with tickets/memberships.
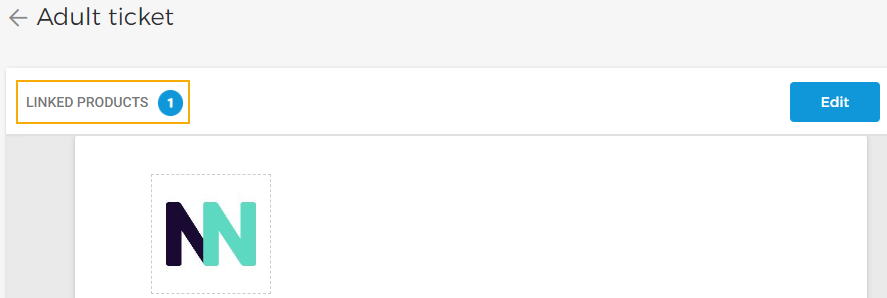
On the resulting page, click Link products in the top-left corner of the preview panel.
Next, select the tickets/memberships for which you wish to use the template.
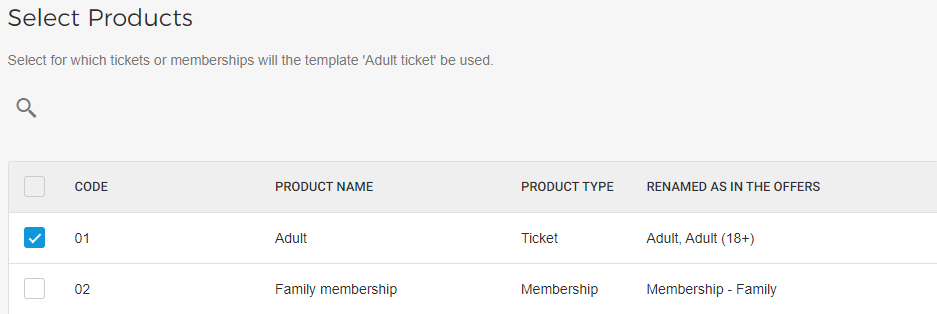 |
Note that you will see products in the following format:
Code | For a Ticket product, this is the ticket code as defined in Recreatex or in Enviso (in case of tickets created in Enviso). For a Membership product, this is the code automatically generated when creating a Membership product in Enviso Sales. |
Product name | For a Ticket product, this is the ticket description as defined in Recreatex or in Enviso (in case of tickets created in Enviso). For a Membership product, this is the name of the Membership defined at the time of creating it in Enviso Sales. |
Product type | Indicates whether the product is a Ticket or Membership. NoteMembership products will be shown only if the feature to sell Membership offers has been enabled for your venue. |
Renamed as in the offers | This column contains all the names that you have used for the tickets fetched from Recreatex at the time of creating offers in Enviso Sales. In Enviso Sales it is possible to rename the tickets fetched from Recreatex. Refer Edit ticket name and price. In case of a Membership product, this is the names used for the membership at the time of creating offers in Enviso Sales |
Click Link in the bottom-right corner of the window to link the selected products with the template.
Next, on the template preview page, you will be able to see the number of linked products.
 |
Important to know
It is possible to link one Standard size ticket template with multiple tickets. However, one ticket can be linked to only one Standard size ticket template.
For tickets that are not linked with any template, the default template for Standard size tickets will be used.
It is possible to link either Ticket-type or Membership-type products to a template.
Next, you can add translations for the product template.
Link sales points
Note
The option to link a template with onsite sales points is available only for Custom size ticket templates. The Standard size (A4) templates are required to be linked with tickets/memberships.
Once you have published a Custom size template, you can link it with the onsite sales points. The visitor will receive PDF tickets/memberships in the customised size when purchased from the defined onsite sales points. In this case, the custom template will over-write any standard-size template defined at offer-level.
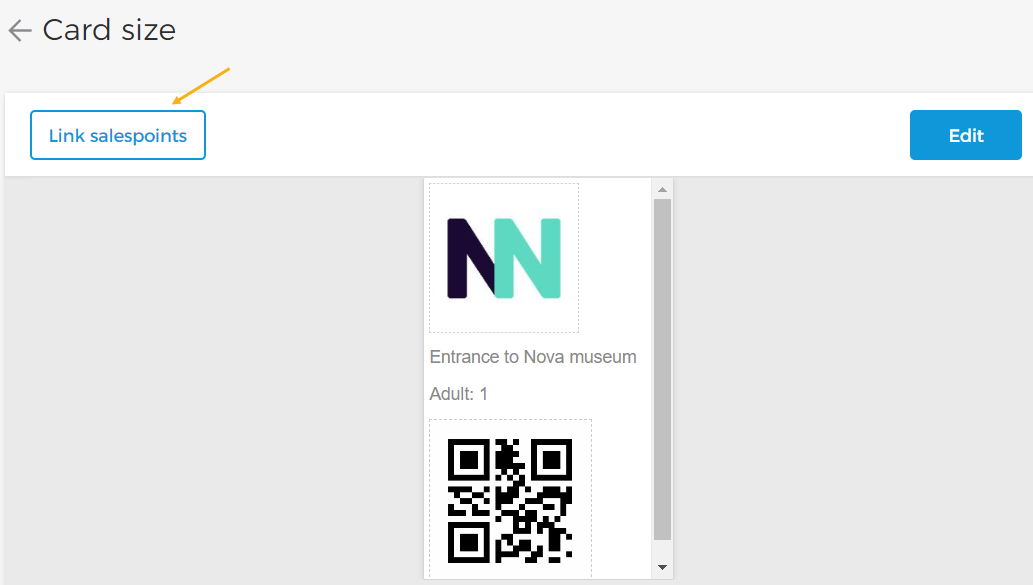
On the Product templates page, click on a Custom size template you want to link with one or more onsite sales points.
On the resulting page, click Link sales points in the top-left corner of the preview panel.
Next, select the onsite sales points where you wish to use the Custom size template.
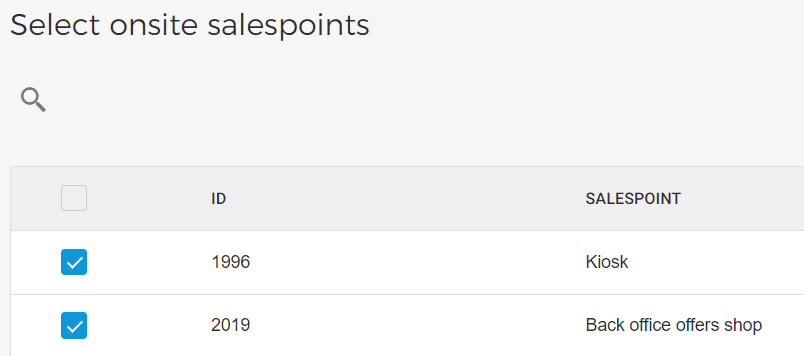
Click Link in the bottom-right corner of the window to link the selected onsite sales points with the template.
Next, on the template preview page, you will be able to see the number of linked sales points.
You can also add translations for the template.